In the quest to combine healthy eating and with the occasional cravings for snack food, it is nice to find recipes that satisfy both needs. One recipe that has been a hit time and again, despite the healthy credentials of being just Paleo friendly squash, healthy avocado oil, and salt and black pepper are butternut squash chips.
Butternut squash chips are one of those recipes that are great to serve both health conscious and non-health conscious friends alike. Having made these chips many times, I have been seeking out the fastest and lowest fuss ways to make these popular chips.
I believe I have found it. This version of the recipe requires only a cutting knife, vegetable peeler, and a few short minutes of cook time in the microwave. So you get go quickly from craving to snacking, something we all know can be important in many snacking emergency situations.
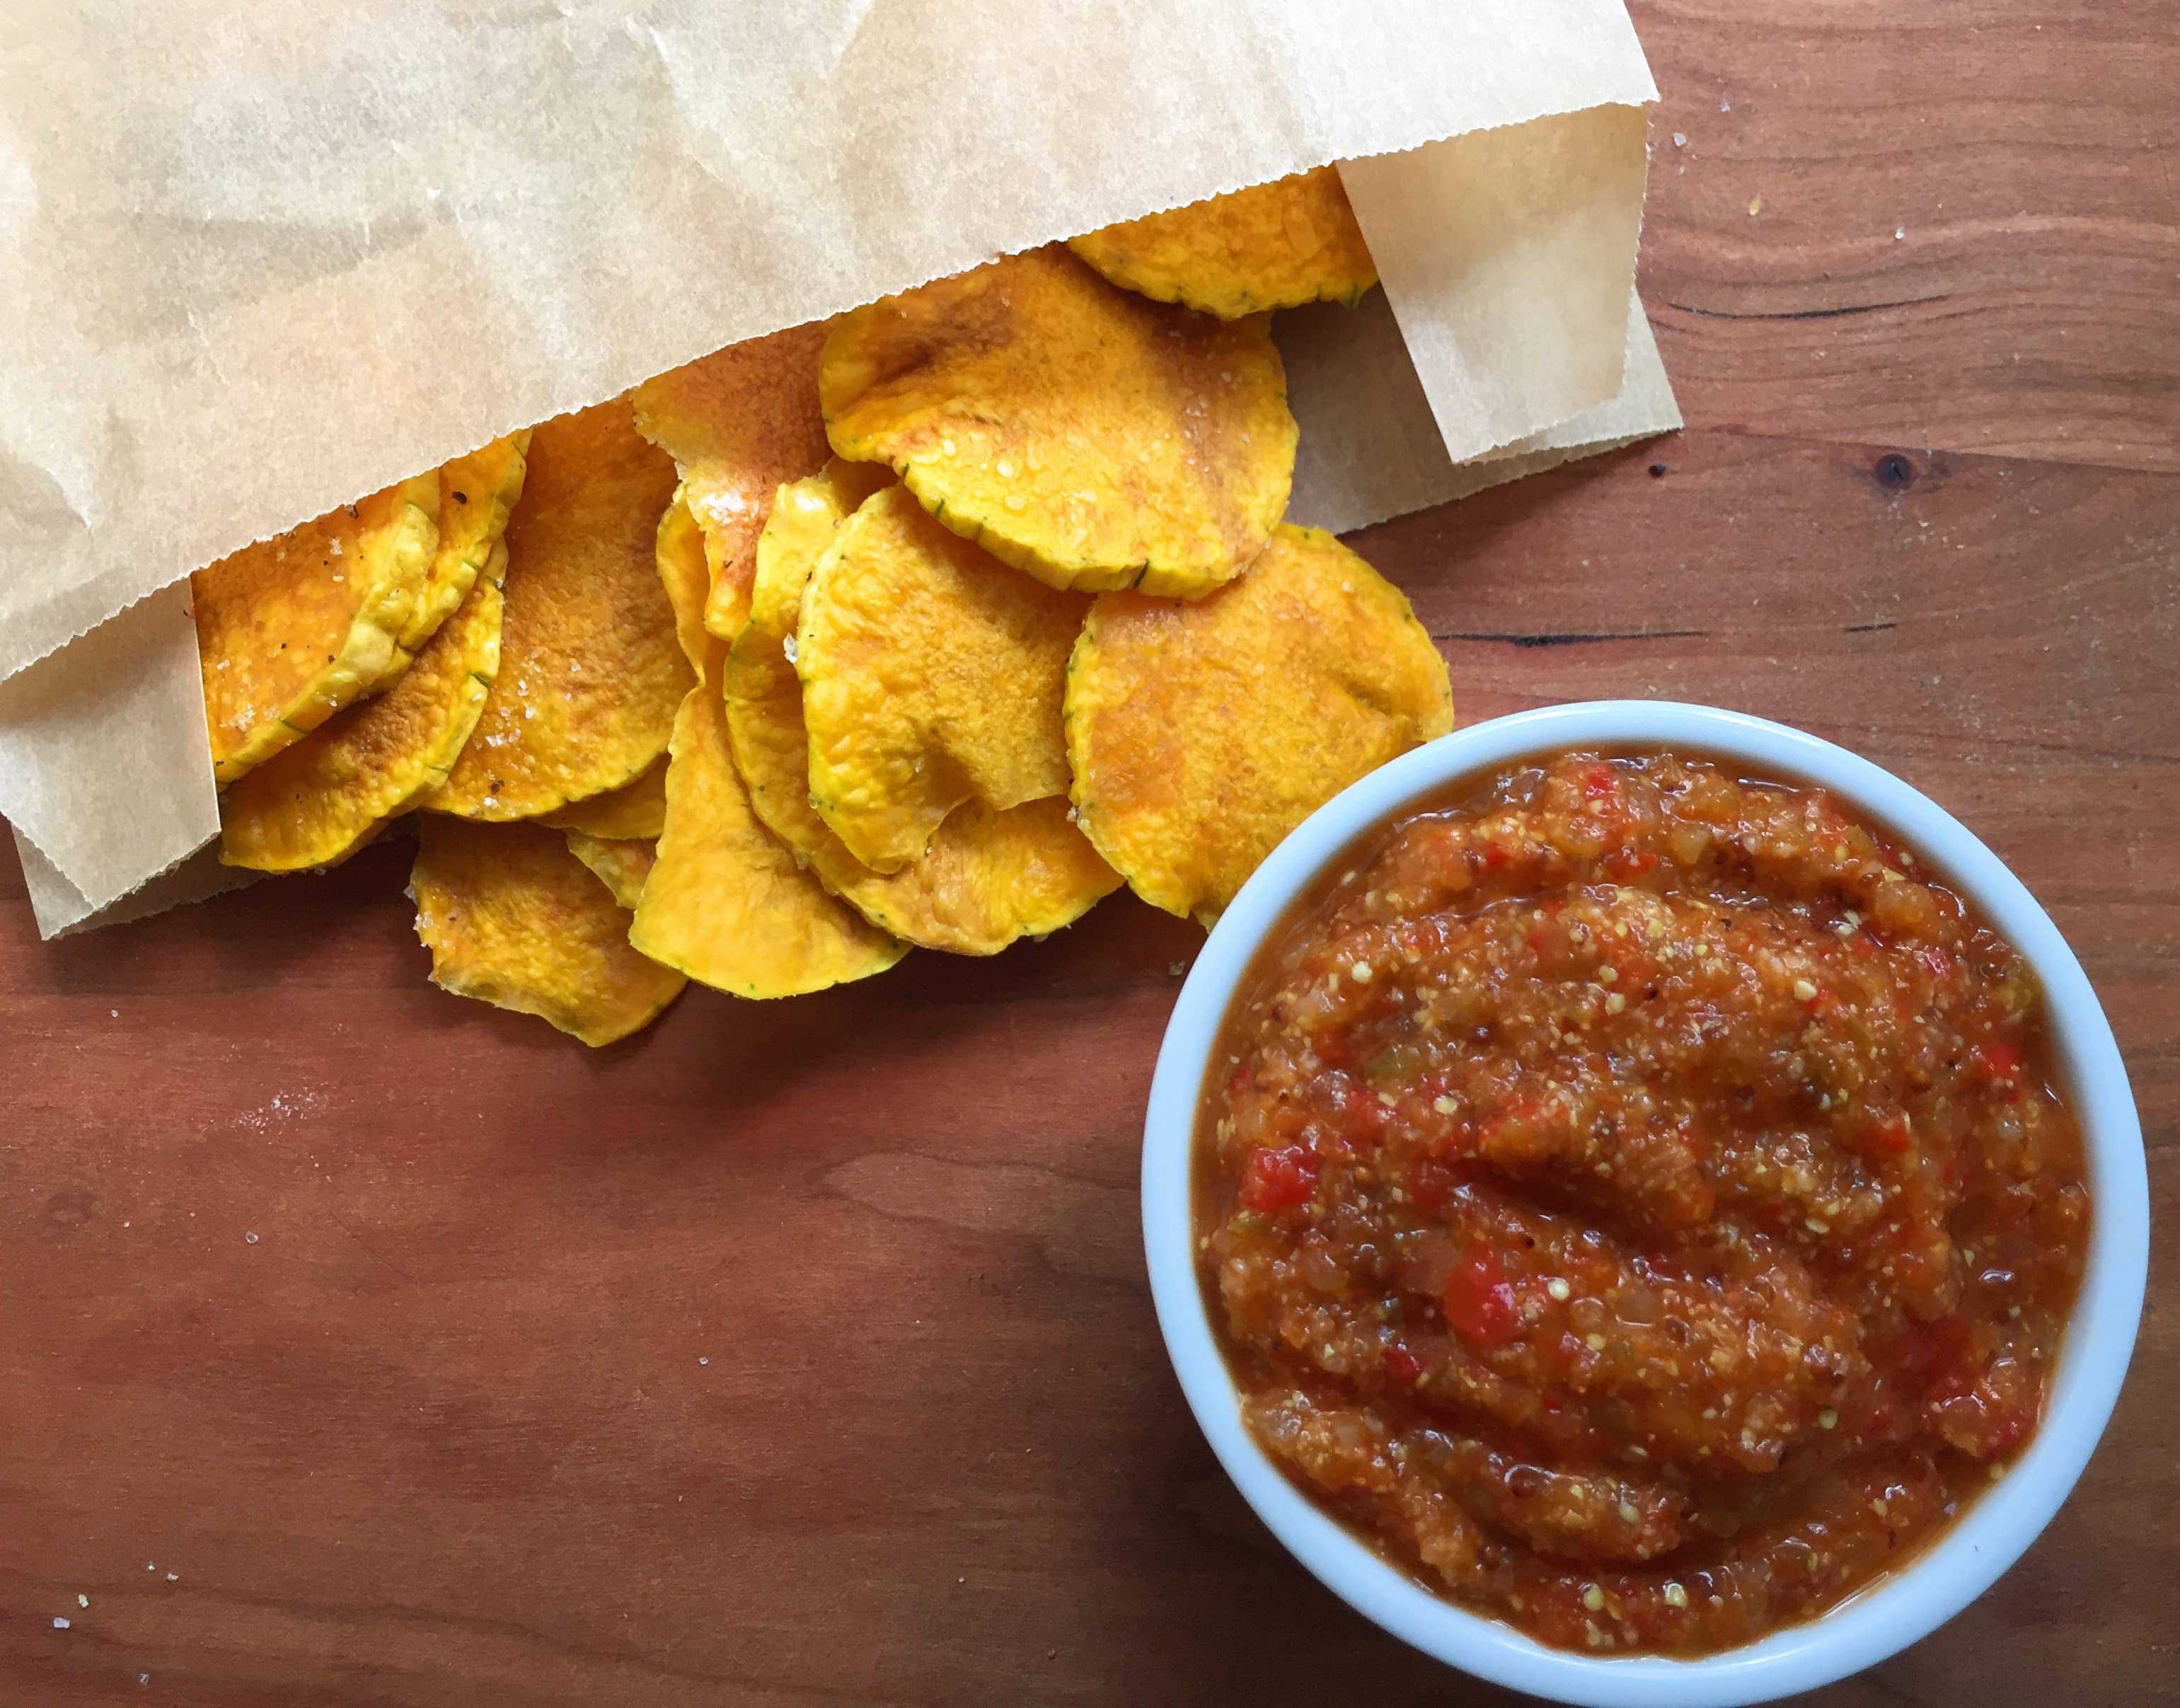
We have served it here, pictured, accompanied by our homemade fiery Panamanian dipping sauce, although these squash chips are both great alone or with just about any healthy dip you can imagine.
We cover the following....
Prepping the Butternut Squash
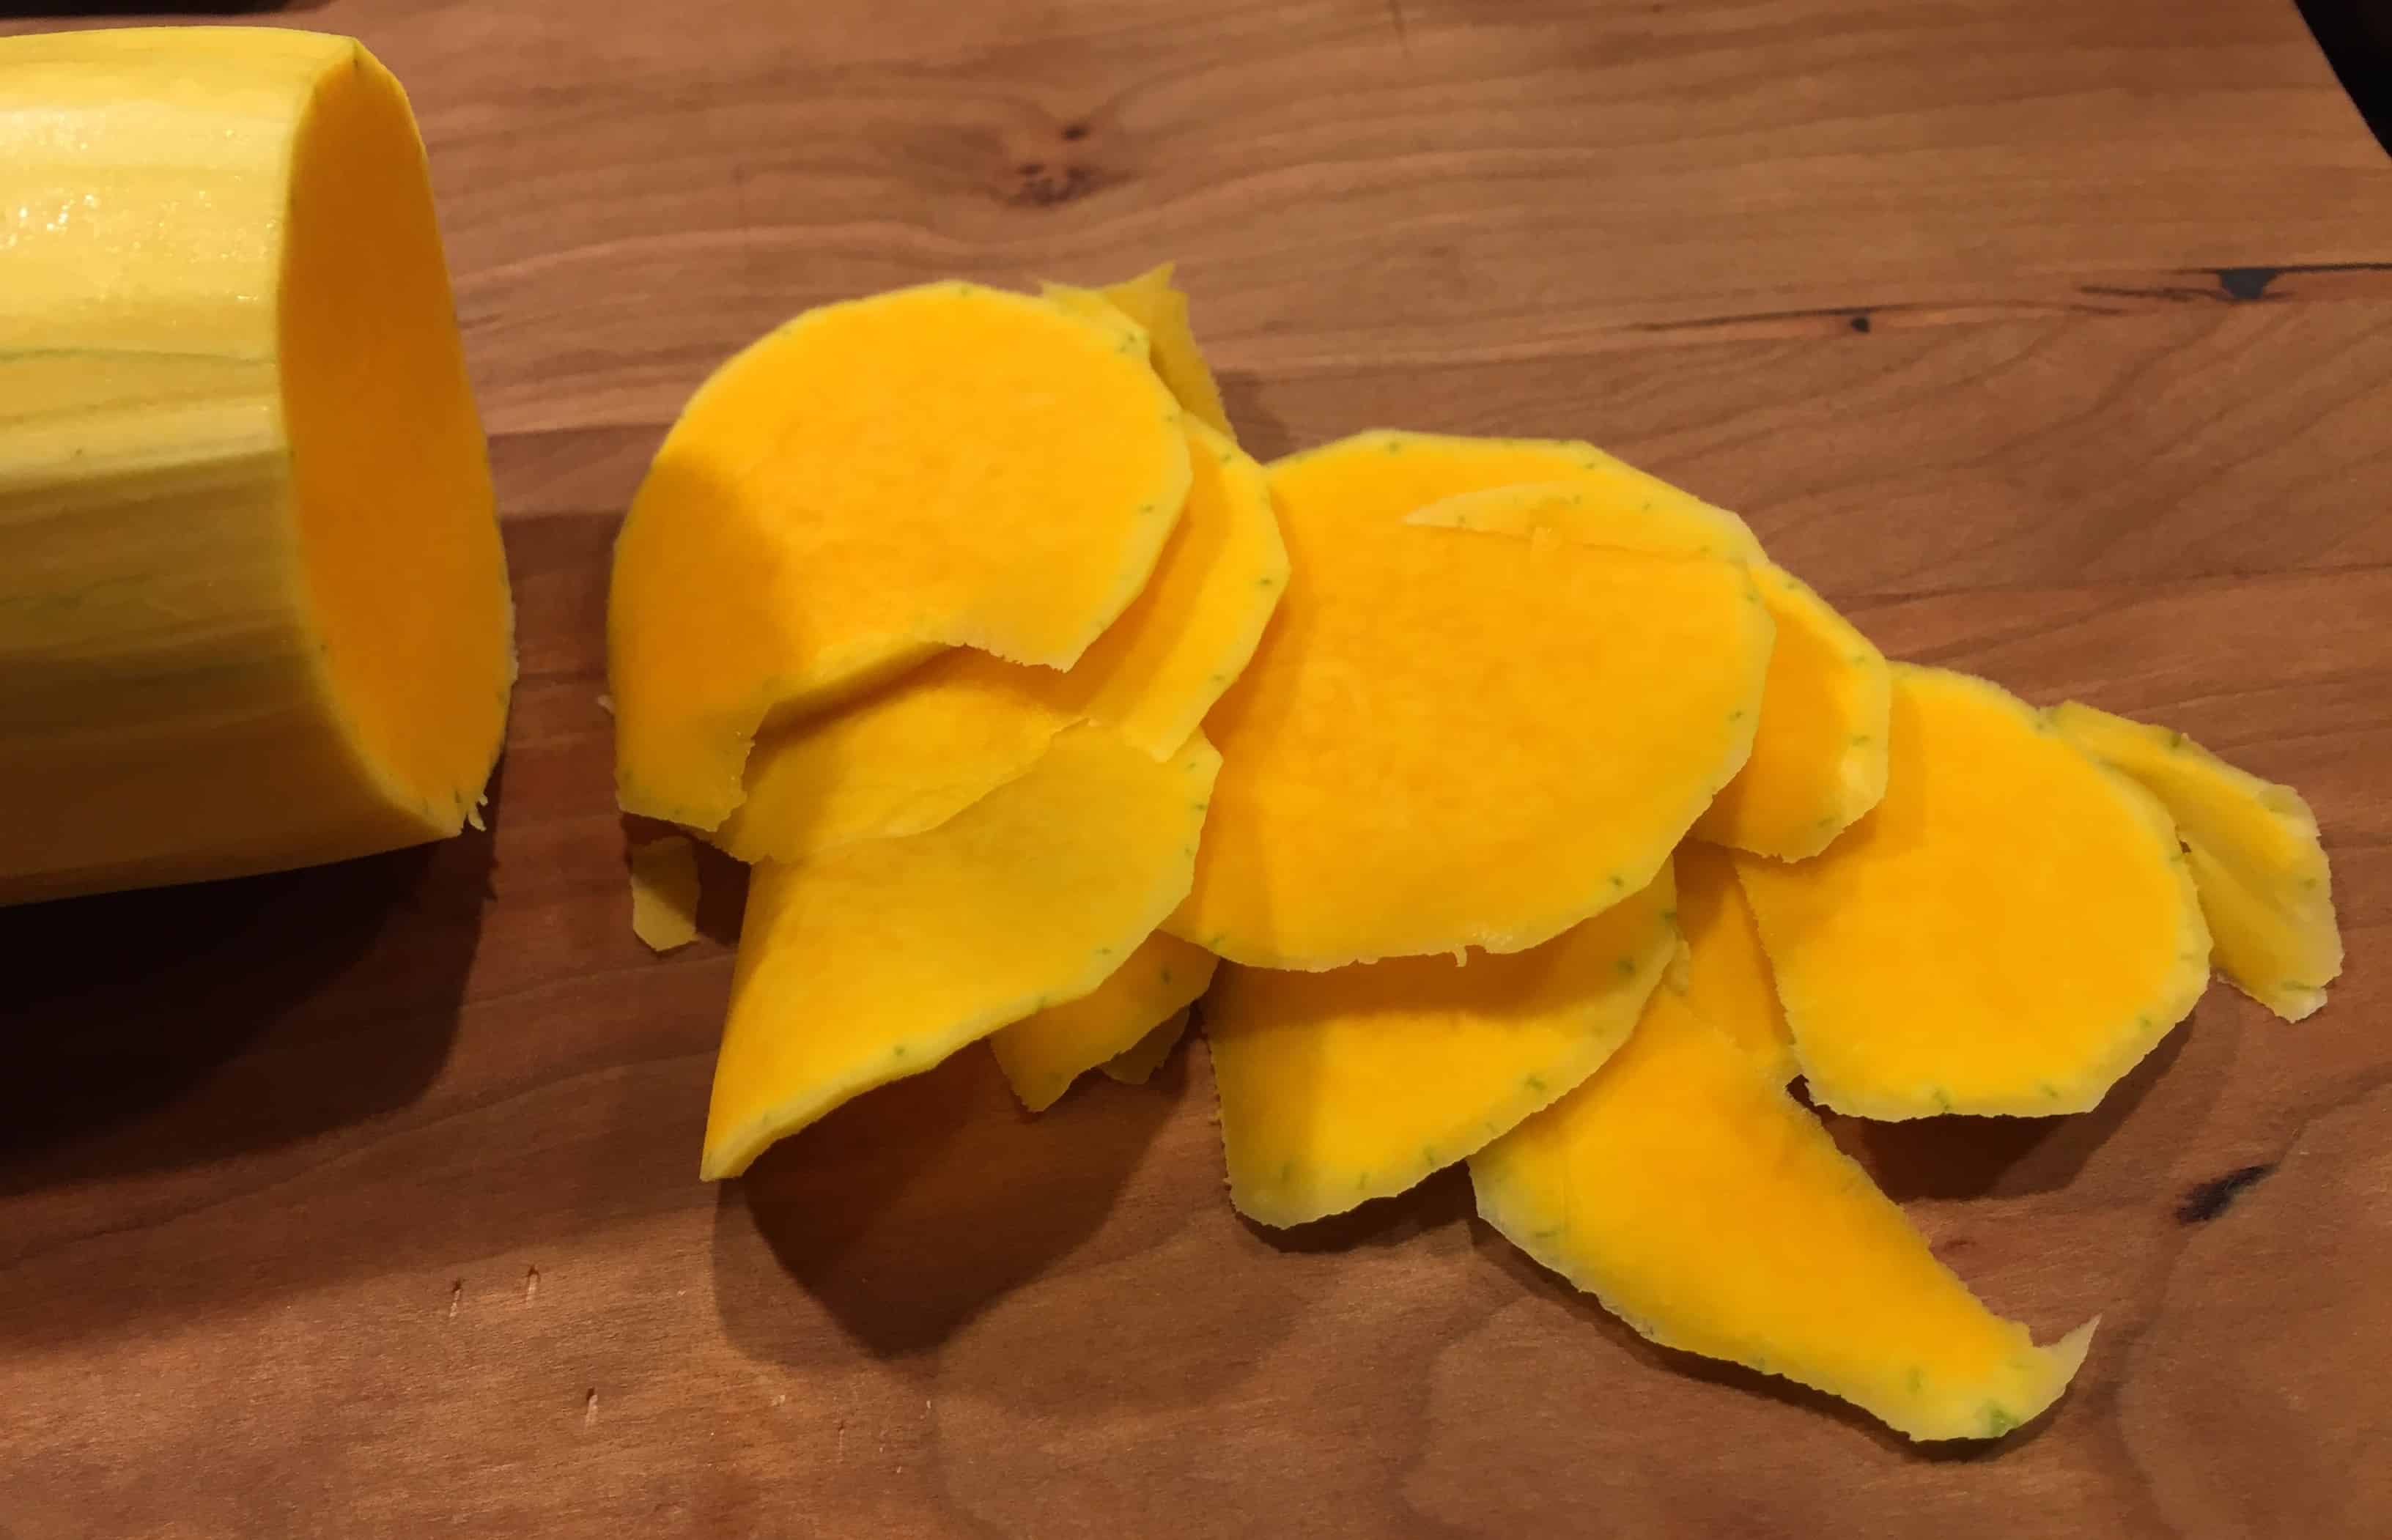
The first step is selecting a butternut squash that will make your life easy. Although it’s not absolutely required, I always try to look for a butternut squash that has a long thin neck portion, ideally around a 3 inch diameter. This just saves you time, as this is about the size you would ideally want to make your chip diameter for the most potato-chip like appearance.
You simply cut off the end of the squash with the stem, peel all sides of the neck of the squash as pictured. I typically start with the neck portion first and then slowly work my way towards the bulbous portion of the squash that contains the seeds. It’s a lot more work to cut up the portion around the seeds, so I typically wait for that part until the end. Once I have had a few rounds of chips and cravings have been satisfied.
Once you’ve peeled the neck, simply take a large cutting knife and slice thin round circular slices. I try to get them as thin as I can, but really it’s not worth stressing too much over. Even slightly thicker slices can still work to create delicious chips, they just might need to cook slightly longer.
One option is to use a mandolin for uniform thin slices or a food processor’s slice setting. I usually don’t bother with this unless I am making a huge batch, and prefer to just pull out a kitchen knife and get started. Once you have about 30-40 slices, you will likely want to take a break to start the cooking process, and can go back to slicing the remaining squash with the other chips starting to cook in the microwave.
Getting the Butternut Squash Slices Ready for the Microwave 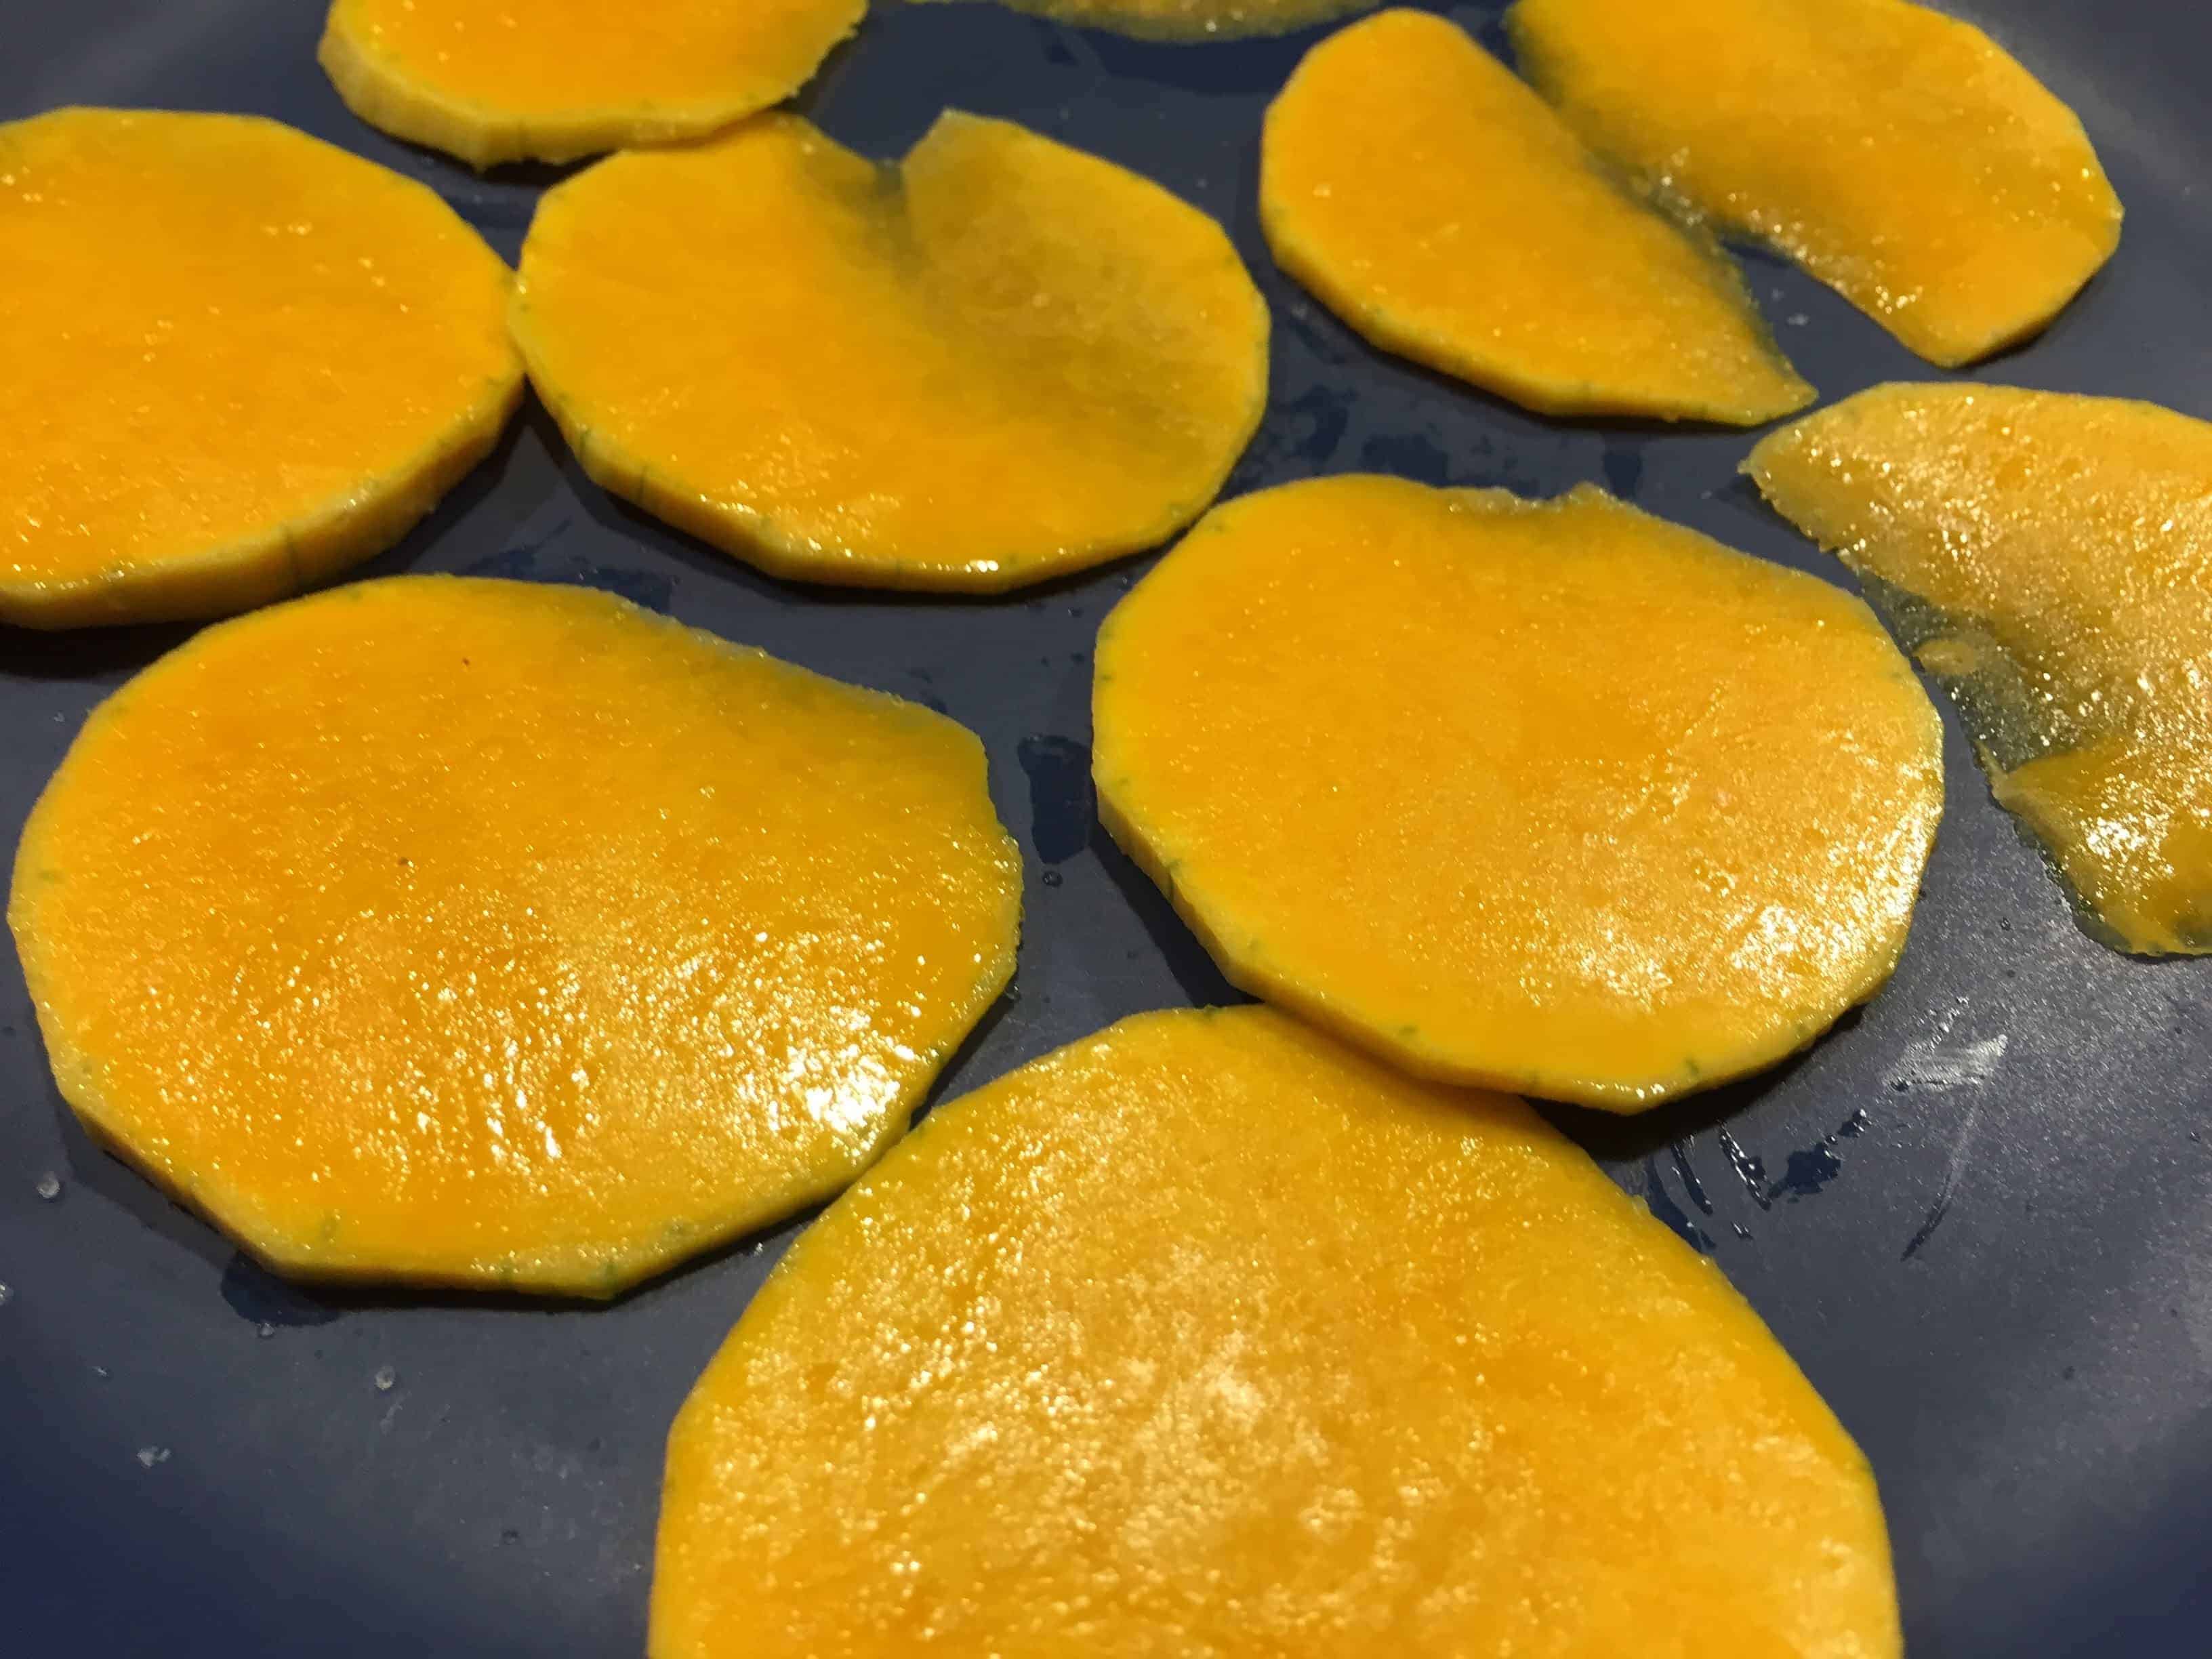
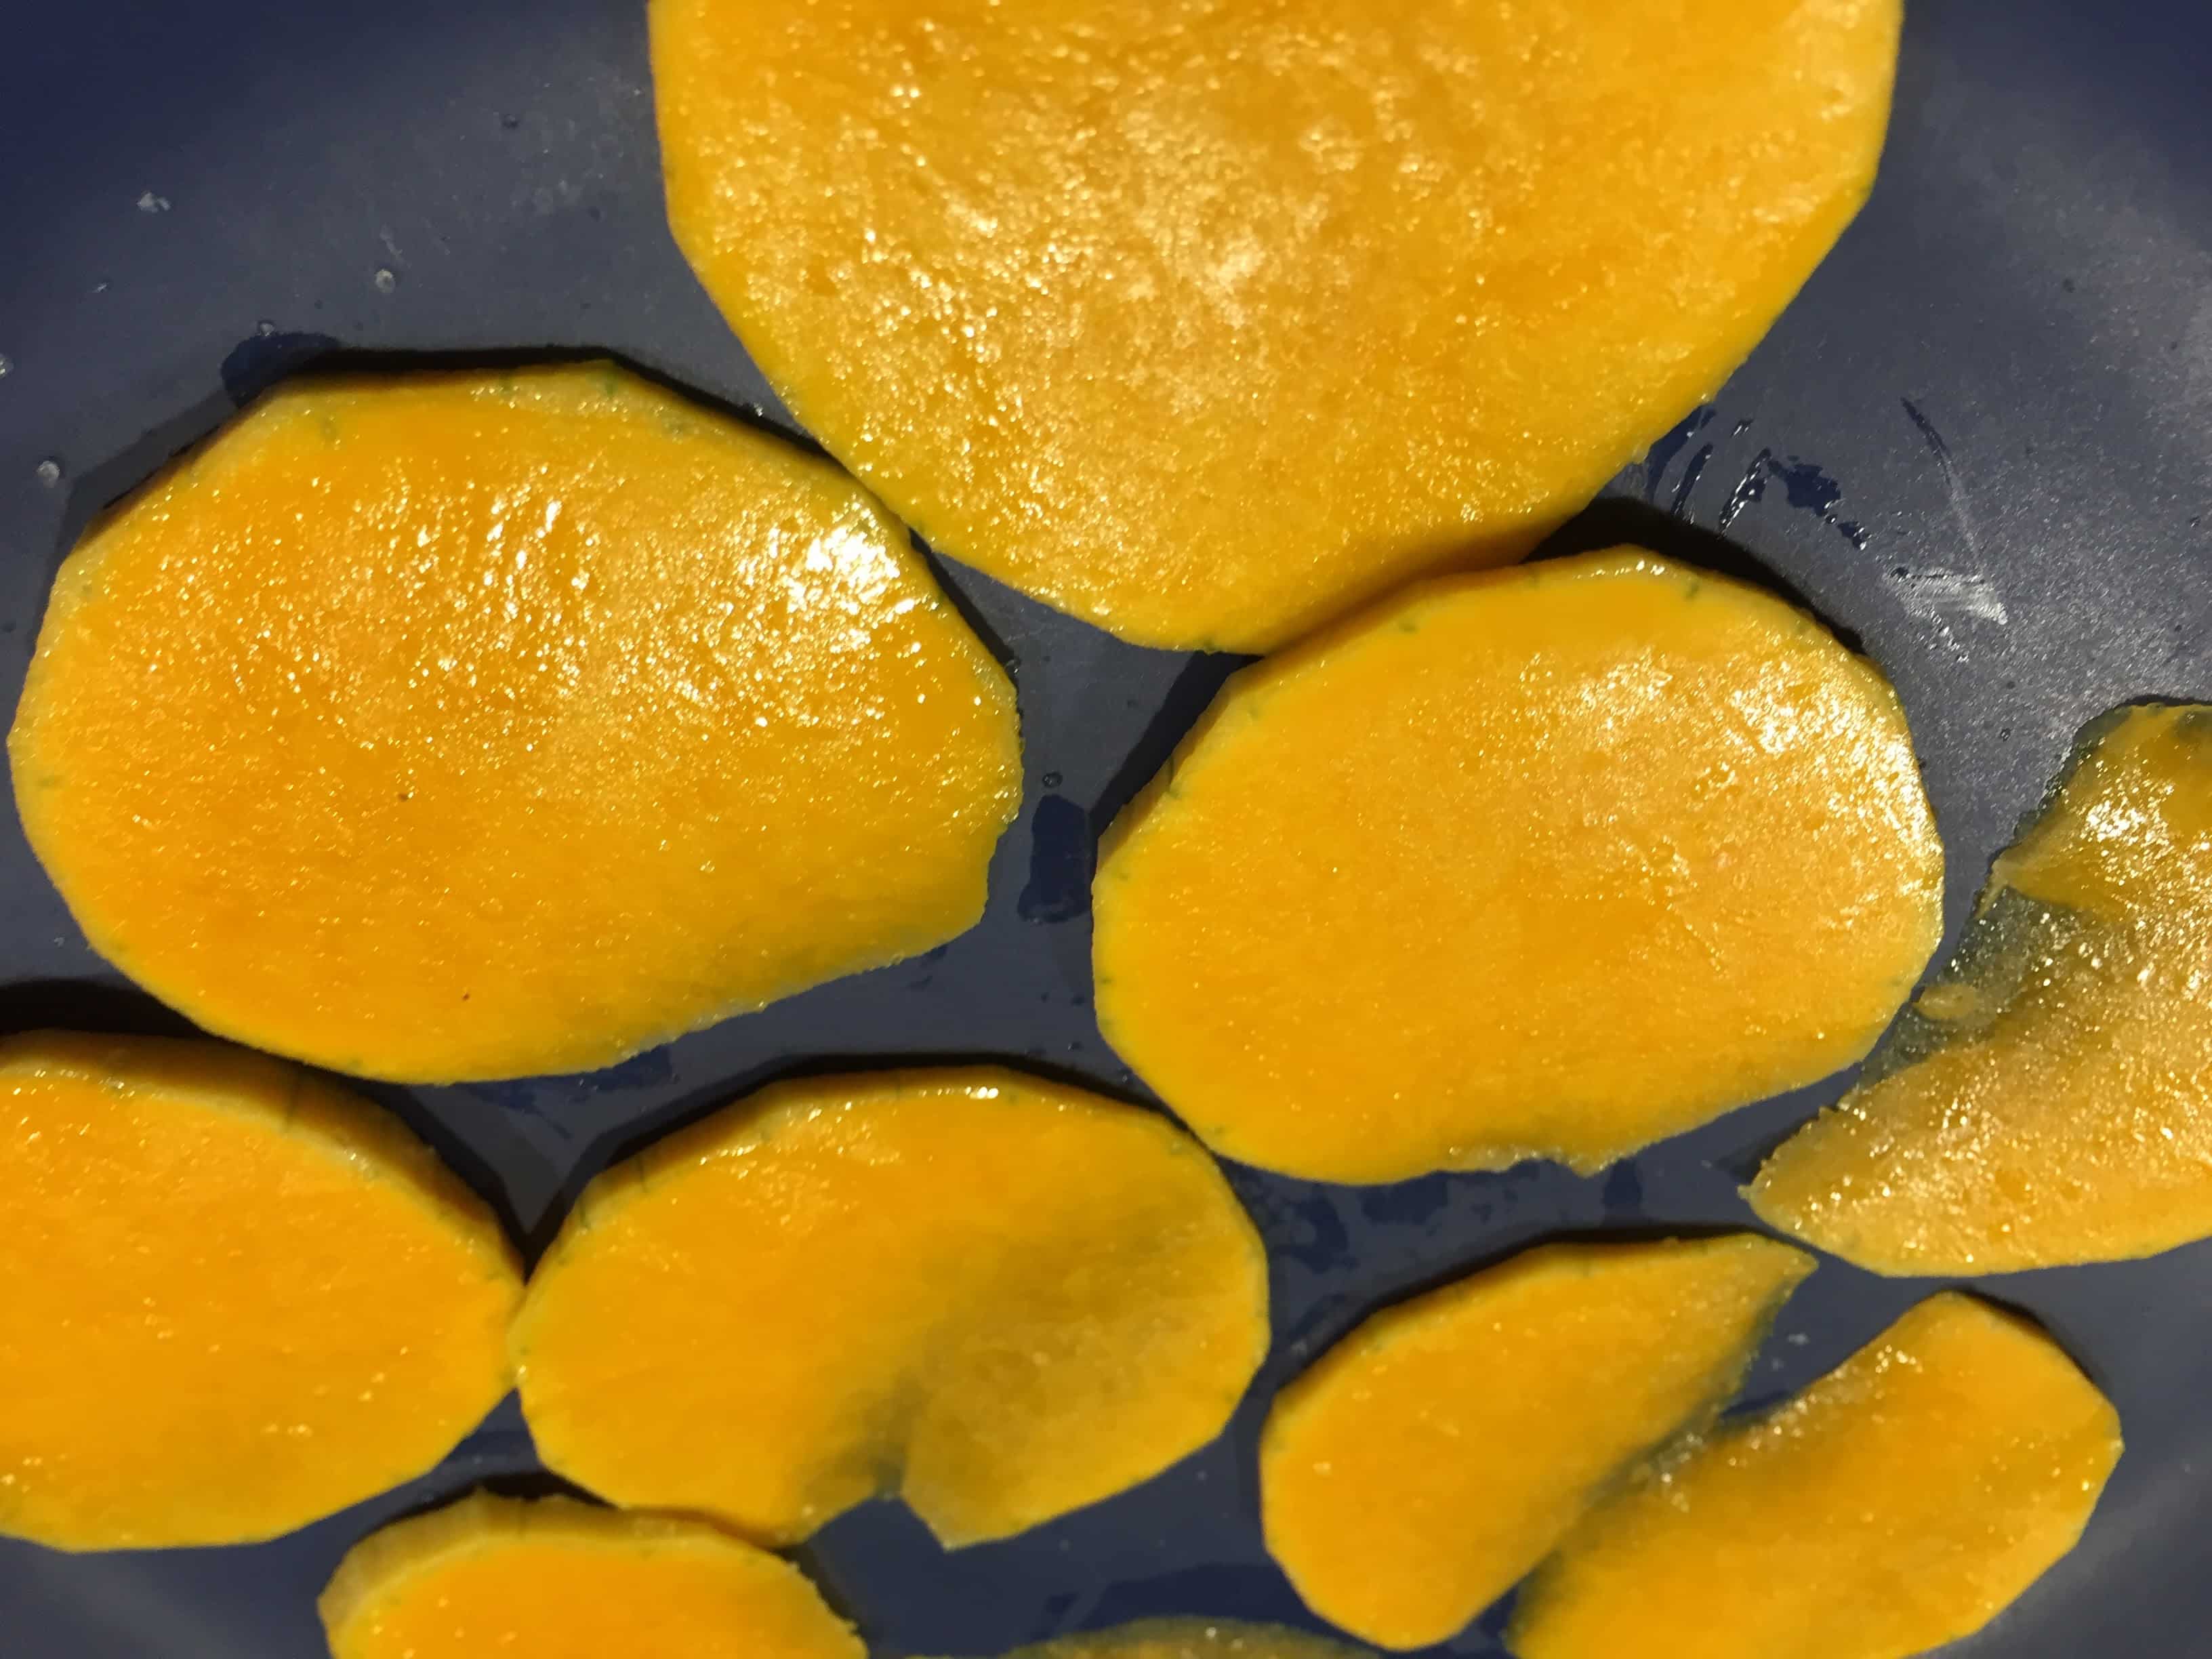
Next spread out the slices of butternut squash on a microwave safe plate. You will want to coat them in avocado oil and sprinkle them with salt before spreading them out on the plate.
For chips that are closer to commercial plantain or potato chips use the avocado oil liberally. For healthier chips spread just a thin layer of oil, enough to prevent burning.
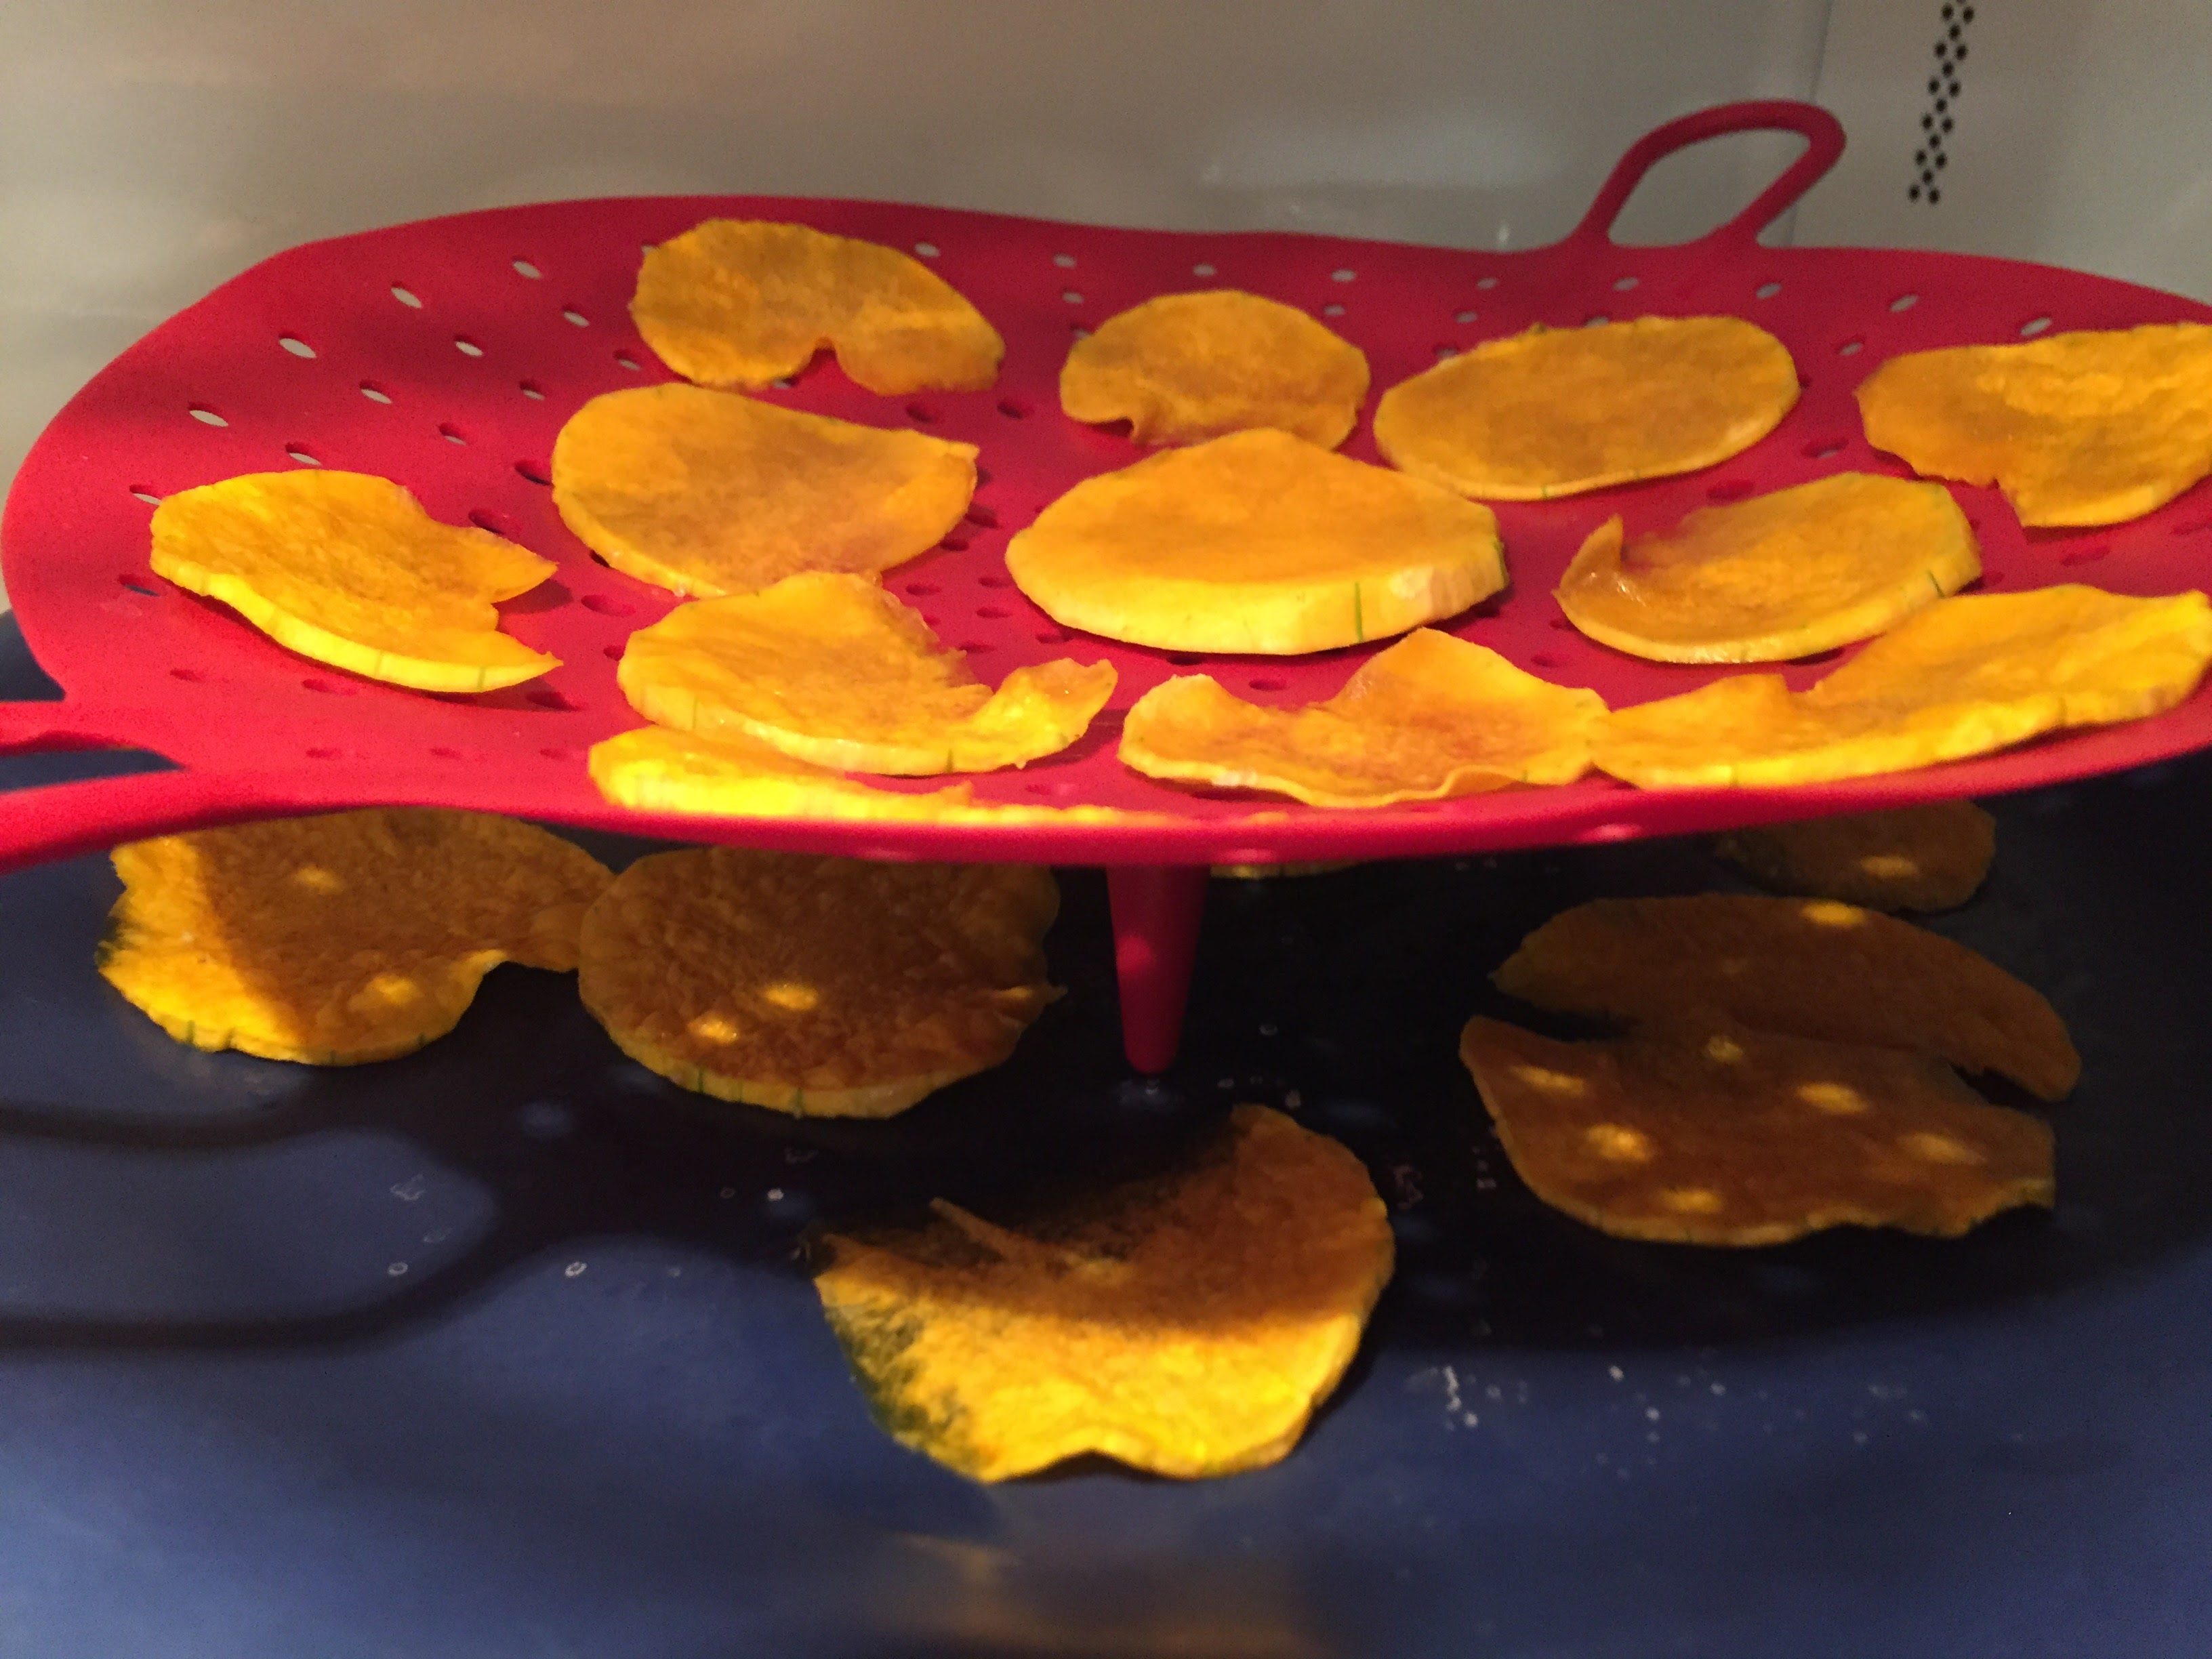
If you’d like to make a bit more in one batch, you can add a second level with a silicone colander or other improvised leveling system as pictured below. Otherwise, it’s just take a few more batches in the microwave.
Microwaving the Butternut Squash Chips
The microwave step is the crucial and only semi-challenging step in this recipe. Although the microwave is a very quick way to crisp up a batch of healthy chips in minutes, you do have to take some care not to burn the chips.
At the very end the chips can quickly go from a golden brown to burnt, so you will want to keep a fairly close eye on what is going on in the microwave. Luckily, with a single butternut squash you will have many batches to perfect this art. So don’t worry too much with your first batch. It can’t hurt to pull them out early, let them cool and then decide they need some more cook time.
My recommendation is to microwave the squash slices on full power, but only in increments of 30 seconds or a minute at a time. This allows you to inspect the chips between cooking sessions to confirm if they are getting browned. The chips will take somewhere in the range of 5 minutes, but this will vary quite a bit depending on your microwave.
When to remove the Chips from the Microwave

You will want to watch for the squash chips turning a golden brown and becoming slightly crispy. It’s also a good idea periodically to make sure the chips aren’t sticking to the plate, but using a spoon or utensil to lightly lift the chips off the plate and move them around a bit. This is a bit easier on the silicone colander as they tend not to stick as easily.
I typically look for the point where the chips are starting to get crispy, but are not fully crispy or turning brown. The chips will become significantly more crunchy as they cool, so it’s often better to play it on the safe side and remove them early from the oven, wait for them to cool, and then decide if they need more time in the microwave. In the interim you can always start to work on heating a second batch.
Seasoning the Finished Paleo Butternut Squash Chips
Once the chips have cooled, you will can to confirm that they are crispy. If any sections, such as the thicker slices remain a bit soft you can set these aside and microwave them a bit more as a final batch.
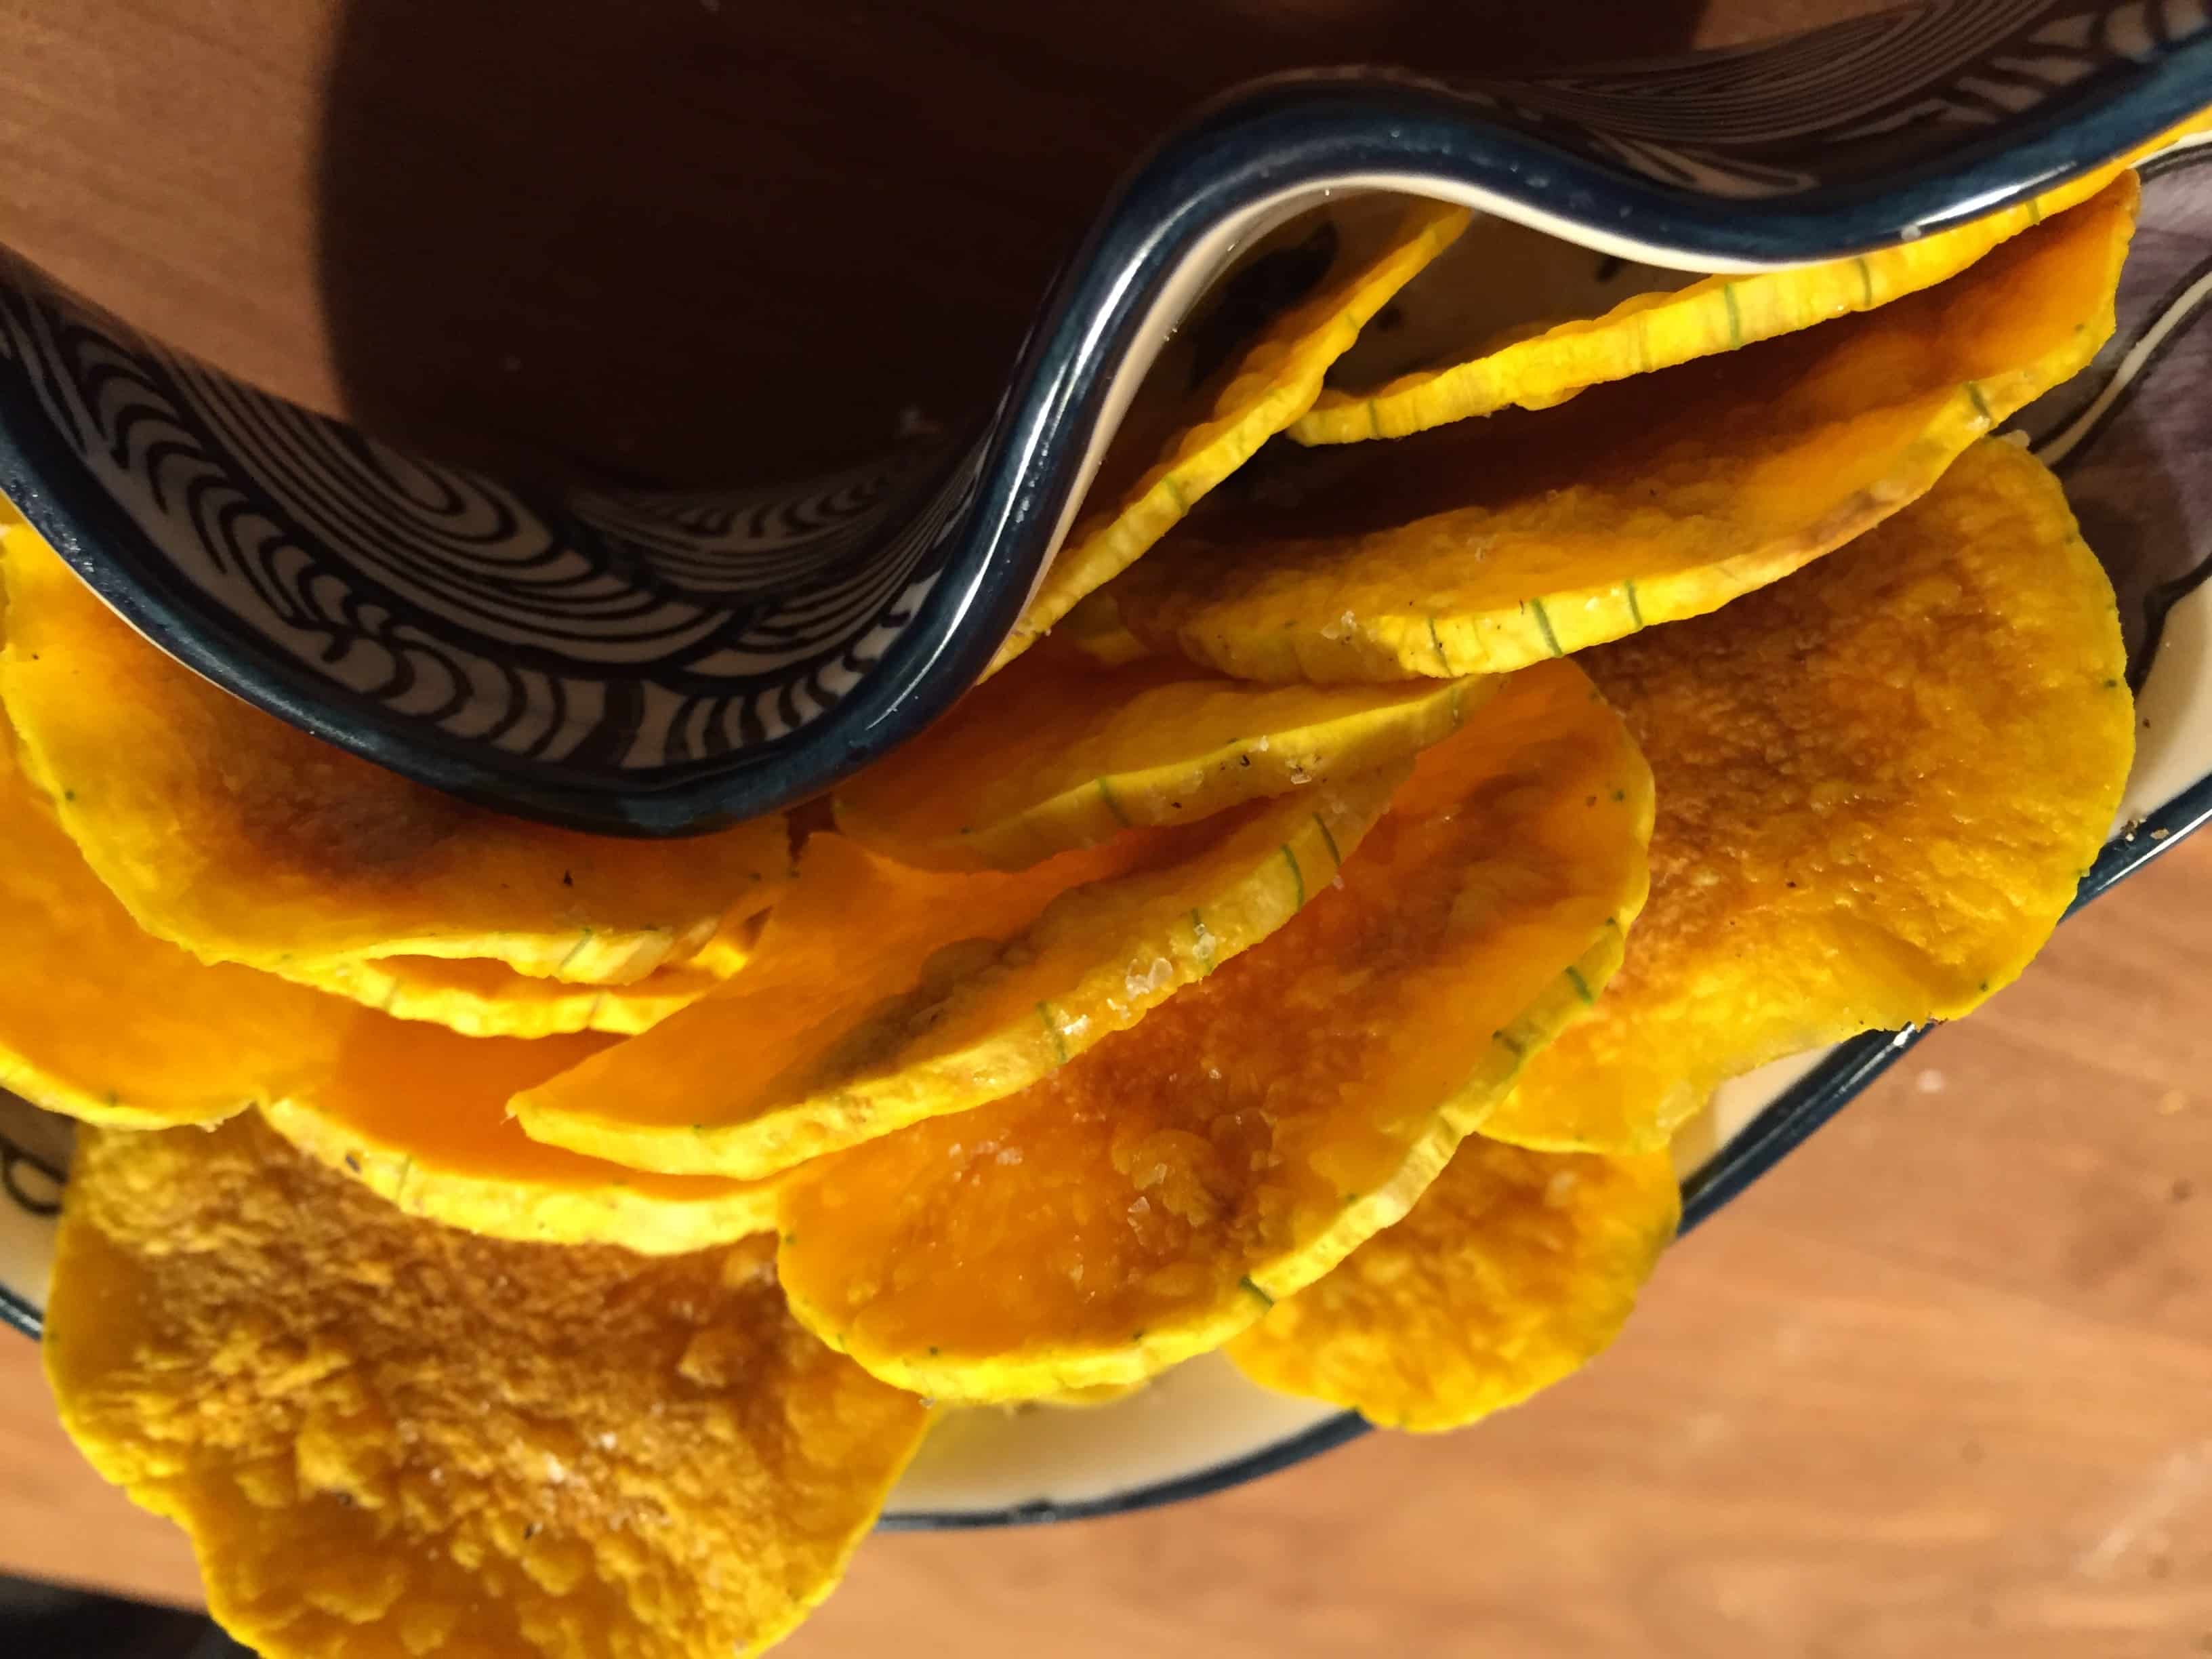
Once the chips are to your preferred crispiness, I like to season them liberally with high quality sea salt as well as crushed black pepper. A lot of the salt and pepper will likely fall of the chips, so it’s always nice to put them in a nice serving bowl and you can use the collected salt to season the next batch of chips.
Pairing Recommendation – Homemade Panamanian Fiery Salsa as a Paleo, Healthy Dipping sauce

We recently paired these chips with a homemade hot sauce we had made inspired by our time travelling in Panama. It was a hit, so I wanted to offer it here as a serving suggestion with the chips. Chips always go better with Dip and these two make a great combination.
Recipe Ingredients – Paleo Butternut Squash Chips
- Butternut Squash, 1 Small to Medium
- Avocado Oil, 2 Tablespoons
- Sea Salt
- Black Pepper, Freshly Ground, to Taste
Goes well with our recipe for Panamanian Style Dipping Sauce (pictured)